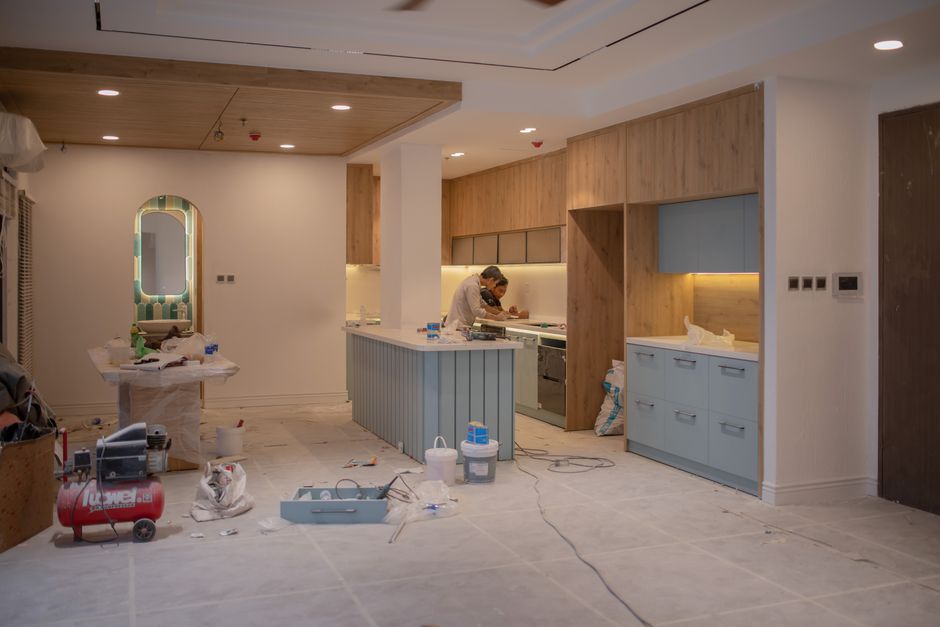
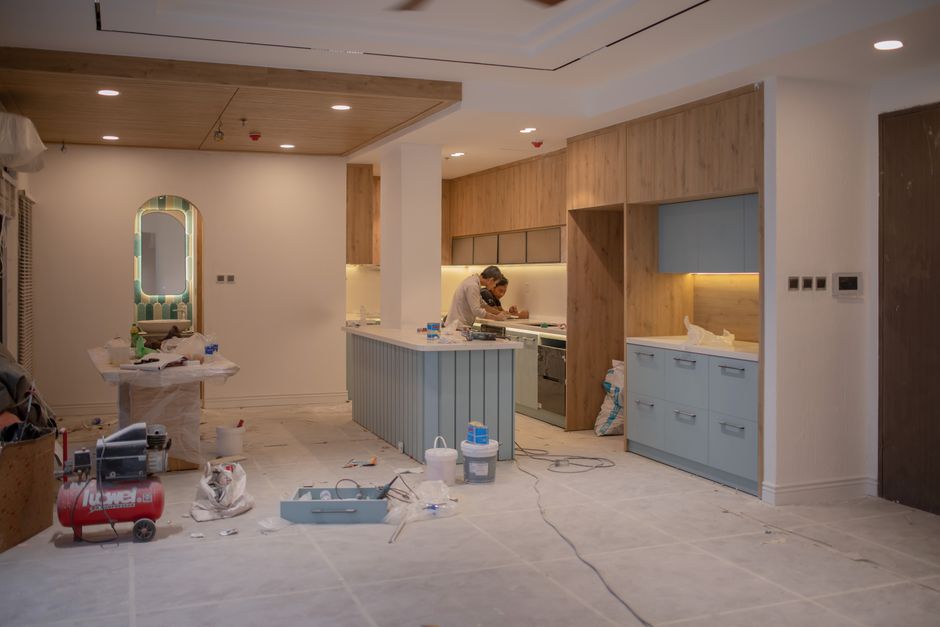
You walk into your kitchen, and something feels different. The same footprint, the same layout, the same morning light coming through the window above the sink. But the room breathes differently now. The cabinets that once made the space feel tired and dim now glow with a finish that looks straight out of a design magazine. No demolition dust on your baseboards. No dumpster in the driveway. Just a kitchen that feels brand new, achieved in days rather than weeks. This is the promise of professional cabinet refinishing, and this guide curates the best kitchen cabinet refinishing before and after transformation examples to help you visualize your own project.
Table of Contents
- Why Cabinet Refinishing Dominates 2026 Kitchen Trends
- The Gallery: 15 Real Kitchen Cabinet Refinishing Transformations
- The Real Cost: Refinishing vs. Refacing vs. Replacement
- What Is the Downside of Cabinet Refinishing? (And When to Say No)
- The Step-by-Step Process: What to Expect During Your Refinishing Project
- Cabinet Refinishing Materials: Paint vs. Stain vs. Glaze
- Frequently Asked Questions About Kitchen Cabinet Refinishing
- Ready for Your Own Kitchen Cabinet Refinishing Transformation?
Before we dive into the gallery, a quick definition. Refinishing means painting or staining your existing cabinet boxes, doors, and drawer fronts. Everything stays in place. Refacing swaps out the doors and drawer fronts and applies a matching veneer to the boxes. Replacement tears everything out and starts fresh. Each has its place, but refinishing sits in a sweet spot that more homeowners are discovering in 2026. By the end of this article, you will know exactly what refinishing can and cannot do, what it costs, how long it takes, and whether it is the right move for your kitchen.
Why Cabinet Refinishing Dominates 2026 Kitchen Trends
Kitchen renovations have shifted. The era of the obligatory full-gut remodel is fading, replaced by a smarter approach that prioritizes impact over square footage. Cabinet refinishing sits at the center of this shift for several reasons that go beyond aesthetics.
Cost versus impact is the headline. A full cabinet replacement in a mid-sized kitchen runs between $8,000 and $25,000 or more, depending on materials and layout complexity. Professional refinishing, by contrast, typically lands between $1,500 and $4,500. That is roughly 30 to 50 percent of the replacement cost, and the visual payoff is often indistinguishable from new cabinetry. The savings free up budget for other upgrades: new countertops, a tile backsplash, or upgraded appliances.
Speed seals the deal. A professional refinishing crew can transform a kitchen in three to seven days. A full replacement, with demolition, custom ordering, installation, and finishing, stretches to three to six weeks on average. For families living through the renovation, those extra weeks of takeout dinners and a makeshift kitchen in the garage add real stress. Refinishing minimizes disruption without sacrificing results.
Sustainability matters more than ever. When cabinets go to a landfill, thousands of pounds of wood, MDF, and hardware get buried. Refinishing keeps your existing cabinet boxes and doors in service, reducing waste to a few gallons of paint and some sanding dust. It is the most environmentally responsible kitchen update available, and for the growing number of homeowners factoring carbon footprint into their renovation decisions, that counts.
Style flexibility rounds out the appeal. Matte black, creamy white, sage green, navy blue, warm greige: the 2026 color palette works beautifully on refinished cabinets. Two-tone designs, where uppers and lowers wear different colors, create custom-looking kitchens without custom cabinetry pricing. Trends come and go, but a well-executed paint job adapts to whatever look you want next.
The Gallery: 15 Real Kitchen Cabinet Refinishing Transformations
The following transformations represent real projects and realistic outcomes. Each one addresses a common kitchen problem and shows how refinishing solved it without moving a single wall.
Transformation 1: The Dark Wood to Modern White Makeover
The problem was familiar: honey oak cabinets installed in the early 2000s that soaked up light and made a generously sized kitchen feel cramped. The homeowners wanted bright and airy but could not justify a full replacement on cabinets that were structurally sound.
The solution involved a high-build bonding primer to block the wood grain and tannins, followed by two coats of a durable urethane alkyd enamel in a crisp white. The finish is scrubbable, resists yellowing, and reflects light across the entire room. New brushed brass hardware replaced the dated chrome pulls. The before photos show a kitchen that felt closed in and heavy. The after photos show the same room transformed: open, fresh, and significantly larger to the eye. The only thing that changed was the cabinet color and the hardware.
Transformation 2: The Builder-Grade to Two-Tone Upgrade
Flat-panel maple cabinets in a generic medium-brown stain. The kind found in thousands of suburban homes built in the last decade. Perfectly functional, completely forgettable.
The homeowners wanted personality. The uppers received a soft sage green that reads as neutral but distinctive. The lowers were refinished in a warm greige that anchors the space. The island went navy blue, creating a focal point that draws the eye into the center of the room. Crown molding added at the top of the uppers and under-cabinet lighting installed during the refinishing process completed the custom look. The before photos show a kitchen that could belong to anyone. The after photos show a kitchen that belongs to these specific homeowners.
Transformation 3: The Rental Kitchen Refresh
Landlord-grade thermofoil cabinets in a small galley kitchen. The thermofoil was peeling at the edges, and the color was a nondescript off-white that had yellowed over time. The owner needed a durable, attractive finish on a tight budget to get the property rent-ready.
Professional bonding primer designed for laminate and thermofoil surfaces was the critical first step. Without it, paint peels within months. Two coats of a high-adhesion cabinet paint in a warm light gray followed. The transformation turned a tired, peeling kitchen into a clean, modern space that photographs well in rental listings. This project also speaks to the DIY-versus-pro conversation that surfaces frequently on Reddit. Proper prep, especially on laminate surfaces, is everything. A rushed paint job without the right primer fails fast. A professional approach, even on a budget, delivers years of durability.
Transformation 4: Modern Farmhouse with Butcher Block
White shaker-style cabinets got a fresh coat of warm white paint paired with new butcher block countertops. Matte black cup pulls and a farmhouse sink completed the look. The before kitchen had the right bones but a dingy cream finish that read as dirty rather than vintage.
Transformation 5: Mid-Century Modern Walnut
Flat-slab cabinets from a 1960s ranch home were stripped and re-stained in a rich walnut tone. Brass tapered pulls replaced the original hardware. The before photos showed scratched, faded cabinets that looked their age. The after photos show a kitchen that honors its mid-century roots while feeling current.
Transformation 6: Industrial Loft Charcoal
Generic brown cabinets in a downtown loft were refinished in charcoal gray. Open shelving replaced two upper cabinets, and the remaining doors got sleek stainless steel bar pulls. The before kitchen felt suburban. The after kitchen matches the industrial character of the building.
Transformation 7: Coastal Cottage Blue
A small beach-town kitchen went from dark cherry cabinets to soft blue. White subway tile and beadboard accents reinforced the coastal feel. The before photos show a kitchen that fought against its setting. The after photos show a kitchen that belongs steps from the water.
Transformation 8: Transitional Cream with Dark Hardware
Ornate maple cabinets with a dated glaze were refinished in a smooth cream enamel. Dark bronze hardware replaced the original brass. The transformation kept the traditional door style but modernized the finish, bridging old and new.
Transformation 9: Scandinavian Minimalist Light Oak
Honey oak cabinets were stripped and re-stained in a light, matte oak tone. Flat black handles and white quartz counters completed the Scandinavian look. The before kitchen was stuck in the 1990s. The after kitchen could be in a Copenhagen apartment.
Transformation 10: Traditional Revival Espresso
White thermofoil cabinets that had yellowed and peeled were refinished in a deep espresso. Glass-front inserts were added to two upper doors during the process. The before kitchen looked cheap. The after kitchen looks rich and intentional.
Transformation 11: Budget Buster DIY Refinish
A 10-by-10-foot kitchen refinished for under $800 in materials. The homeowner documented the process: TSP cleaning, liquid deglosser, bonding primer, and two coats of cabinet-grade paint applied with a high-density foam roller. The before photos show beat-up oak cabinets. The after photos show a clean, matte navy kitchen that cost less than a weekend getaway.
Transformation 12: High-End Dupe Faux-Wood Grain
Flat-panel MDF cabinets were refinished with a faux-wood grain technique using glaze and specialized brushes. The result mimics the look of white oak at a fraction of the cost. The before cabinets were plain white slabs. The after cabinets look like custom woodwork.
Transformation 13: Color Pop Emerald Island
A standard maple kitchen was refinished with neutral cream perimeter cabinets and a deep emerald green island. The before kitchen was uniform and unremarkable. The after kitchen has a focal point that draws compliments from every visitor.
Transformation 14: Aging in Place Upgrade
During the refinishing process, the homeowners added contrasting pulls in a larger, easier-to-grip size and soft-close hinges to every door and drawer. The cabinet color changed from dark brown to a light taupe that improves visibility. The transformation addressed both aesthetics and accessibility in one project.
Transformation 15: Time-Lapse Process Still
A single frame from a professional time-lapse video shows the full arc of a refinishing project: the masked-off kitchen, the spray application, the drying cabinets laid out in a workshop, and the final reassembled kitchen. Sometimes seeing the process builds more confidence than seeing only the result.
The Real Cost: Refinishing vs. Refacing vs. Replacement
Cost questions dominate the research phase of any kitchen project. The People Also Ask sections on search results are filled with budget-related queries, and for good reason. Here is what you can expect to pay in 2026 for a mid-sized kitchen of roughly 200 square feet.
Professional refinishing runs from $1,500 to $4,500. The range depends on kitchen size, paint quality, door complexity, and your geographic market. A small galley kitchen with flat-panel doors lands at the lower end. A large kitchen with intricate raised-panel doors and a multi-color scheme lands at the higher end.
Cabinet refacing, which replaces doors and drawer fronts and applies matching veneer to the boxes, runs from $4,000 to $10,000 or more. You get new door styles and fresh exteriors, but the boxes and layout stay the same.
Full replacement starts around $8,000 for stock cabinets in a small kitchen and climbs past $25,000 for semi-custom or custom cabinetry in a larger space. Demolition, disposal, and installation labor add to the total.
The question "Is $30,000 enough for a kitchen remodel?" appears frequently in search data. The answer: yes, but how you spend it matters. Thirty thousand dollars buys a full luxury replacement with mid-range cabinets. Or it buys a high-end refinishing project with new stone countertops, a tile backsplash, and upgraded appliances, with money left over. The refinishing route stretches the budget across more visible upgrades.
Hidden costs to watch for include repairing damaged cabinet boxes before refinishing can begin, removing and disposing of old hardware, and addressing any water damage discovered during prep. A reputable refinisher will inspect your cabinets and flag these issues during the estimate.
Return on investment favors refinishing. Industry data suggests refinishing recovers 70 to 80 percent of its cost at resale, while full replacement recovers 60 to 70 percent. The gap exists because buyers value a fresh, updated kitchen but do not necessarily pay a premium for brand-new cabinet boxes they cannot see.
What Is the Downside of Cabinet Refinishing? (And When to Say No)
Every renovation option has limitations. Honest assessment builds trust, and the question "What is the downside of cabinet refinishing?" deserves a straight answer.
The box limitation is the biggest constraint. Refinishing cannot fix cabinets that are structurally compromised. If your boxes are water-damaged, warped, delaminating, or made from particleboard that is swelling at the seams, paint will not save them. The boxes must be sound for refinishing to make sense.
Layout changes are off the table. Refinishing works within your existing footprint. You cannot add an island, move the sink, or reconfigure the work triangle without replacing at least some of the cabinet boxes. If your kitchen layout frustrates you daily, refinishing will make it a prettier version of the same frustrating layout.
Style changes have limits. You can change the color, the sheen, and the hardware. You cannot change the door profile from arched cathedral to flat-panel shaker without replacing the doors, which crosses into refacing territory. If you want a fundamentally different door style, refinishing alone will not get you there.
The perception gap matters in high-end homes. In luxury markets, buyers may view refinished cabinets as a cosmetic fix rather than a genuine upgrade. If your home value exceeds a million dollars and your neighborhood expects new or custom everything, full replacement may be the better move for resale.
When should you choose replacement over refinishing? If your cabinets are more than 20 years old and showing structural wear, if they have active water damage, if the layout does not work for how you live, or if you are planning to stay in the home for 15-plus years and want exactly the kitchen you envision, replacement is the right call. For everyone else, refinishing deserves a serious look.
The Step-by-Step Process: What to Expect During Your Refinishing Project
The claim that refinishing takes "days instead of weeks" is accurate, but only when the process is followed correctly. Here is what a professional five-day refinishing project looks like.
Day one focuses on prep and protection. The crew removes all doors, drawers, and hardware. Every surface gets cleaned with a degreaser like TSP to remove years of cooking residue, oils, and hand grime. Floors, countertops, and appliances are masked and covered. This is the least glamorous day and the most important. Paint adhesion depends on it.
Day two is sanding and priming. The cabinet boxes and doors receive a light sanding to degloss the existing finish and create a surface the primer can grip. A high-adhesion bonding primer is applied, usually by sprayer for a smooth finish. Drying time is built into the schedule. Rushing this step causes peeling down the road.
Day three brings the first color coat. Using an HVLP sprayer or, in some cases, a high-density foam roller, the crew applies the first coat of cabinet-grade paint. Drying takes four to six hours depending on humidity and product specifications.
Day four is the second coat and touch-ups. A light sanding between coats knocks down any dust nibs or imperfections. The final coat goes on, and the crew inspects every surface for drips, uneven coverage, or thin spots. Touch-ups happen now, before reassembly.
Day five is reassembly and cleanup. Doors and drawers go back on their hinges and slides. New hardware is installed. The crew does a final walkthrough with the homeowner, removes all masking, and cleans the workspace. The kitchen is ready to use.
Factors that extend the timeline include complex multi-color schemes requiring additional masking and drying cycles, intricate door styles with many recessed panels that take longer to coat evenly, and high humidity that slows paint drying. A reputable contractor will build these variables into the initial estimate.
Cabinet Refinishing Materials: Paint vs. Stain vs. Glaze
The finish you choose determines not just the look but the durability and maintenance profile of your cabinets.
Paint is the most popular choice in 2026 and for good reason. It hides wood grain completely, delivers a solid, modern color, and offers the best durability when a urethane alkyd enamel or two-component coating is used. Painted cabinets resist scratches, moisture, and UV yellowing better than other finishes. They clean easily with a damp cloth and mild soap.
Stain highlights the natural wood grain rather than hiding it. It works beautifully on cabinets with attractive grain patterns and few imperfections. Stain is less forgiving than paint: dents, filler spots, and mismatched wood species show through. A clear topcoat is essential for durability. Stained cabinets need periodic re-oiling or re-coating to maintain their appearance, especially in high-touch areas around pulls and knobs.
Glaze is applied over a base coat of paint to add depth, shadow, and an aged or antique effect. It is popular in traditional, Tuscan, and farmhouse kitchens. Glaze sits in the recesses of door profiles, highlighting the detail work. Durability is lower than paint or stain because the glaze layer can wear in high-contact zones. Glazed cabinets require gentle cleaning and occasional touch-ups.
For most homeowners, paint offers the best combination of durability, style flexibility, and ease of maintenance. Stain suits those who love wood grain and are willing to accept a bit more upkeep. Glaze is a stylistic choice for specific design aesthetics.
Frequently Asked Questions About Kitchen Cabinet Refinishing
How long does a cabinet refinish last? With proper prep and quality materials, expect five to ten years before needing a touch-up. Cabinets in high-use kitchens may show wear sooner around handles and lower drawers.
Can you refinish laminate or thermofoil cabinets? Yes, but only with specialized bonding primers formulated for slick, non-porous surfaces. Thermofoil that is already peeling or delaminating cannot be saved and should be replaced.
Should I paint the inside of my cabinets? Most professionals recommend painting the visible interior surfaces: the face frames and the inside edges visible when doors are open. Fully painting the interiors adds cost and is often unnecessary unless the cabinets have glass-front doors.
Do I need to sand before painting cabinets? Yes. Deglossing the existing finish is essential for primer adhesion. Liquid deglossers exist as an alternative to sanding, but mechanical sanding is more reliable and is the standard for professional work.
Is it cheaper to reface or refinish? Refinishing is significantly cheaper because you keep your existing doors and drawer fronts. Refacing replaces them, which adds material and labor costs.
Ready for Your Own Kitchen Cabinet Refinishing Transformation?
Refinishing is the smartest investment for the majority of kitchens in 2026. It delivers the visual impact of new cabinetry at a fraction of the cost, in a fraction of the time, and with a fraction of the waste. The transformations in this gallery are not staged showrooms. They are real kitchens in real homes, and they represent what is possible when quality materials meet skilled application.
Ready to see your own kitchen in our gallery? Contact Cabinet Painting Colorado for a free, on-site consultation and estimate. We will assess your cabinets, discuss color options, and provide a digital mockup of your kitchen with your chosen finish. We use only premium, low-VOC paints and follow the exact process outlined in this guide. Your before photo is waiting. The after photo is up to you.