Chipped cabinet paint is one of the most common kitchen complaints. It shows up around handles, along door edges, and near the dishwasher, and once it starts, it can spread quickly. The good news is that small chips can be repaired with the right technique and the right paint. The bigger question for Denver homeowners is whether a quick DIY touch-up will blend in and hold up, or whether the cabinets need the kind of professional refinishing that only a specialist cabinet painter can provide.
This guide covers both paths. You will learn the simple steps for touching up minor damage, the signs that a repair is beyond DIY, and what a professional sprayed lacquer finish offers compared with a brushed touch-up. If you own an older home with dated oak cabinets, this information is especially useful as you plan kitchen upgrades in 2026.
Why Painted Cabinet Doors Chip
Cabinet doors take more abuse than most surfaces in a home. Hands pull them open daily, dishes bump against them, and steam from cooking and washing settles on the paint. Over time, the paint loses its grip at the edges. A small impact from a pan or a ring on a finger is all it takes to knock a chip loose. Once the raw wood or primer is exposed, moisture can work its way under the surrounding paint, which is why a tiny chip can become a larger problem if it is ignored.
In many older Denver homes, the original factory finish was never designed to last forever. Cabinets painted years ago with standard wall paint or brushed enamel tend to chip more easily than a sprayed cabinet-grade finish. That is one reason why homeowners in Aurora, Lakewood, Littleton, Arvada, Boulder, and nearby suburbs often search for ways to fix chipped cabinet paint rather than replacing the whole kitchen.
How to Fix Chipped Cabinet Paint Yourself
For small, isolated chips, a careful DIY touch-up can produce surprisingly good results. The process comes down to three steps: sand, clean, and dab.
Lightly sand the chipped area
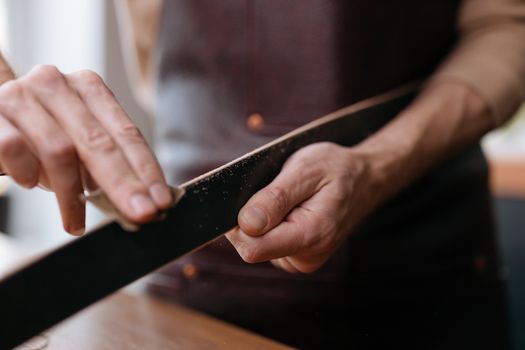
The best way to start is to lightly sand the chipped areas using a small piece of high-grit sandpaper. A 320-grit paper is a good choice for this job. The goal is not to remove the surrounding paint. You only want to smooth the sharp edges of the chip so the repair will blend into the surface. Work gently, and check the area often so you do not sand through the paint next to the chip.
Clean the surface before touching up
Grease and grime collect around cabinet handles and edges, and paint will not stick well to a dirty surface. A mild cleaning step is important before any touch-up. Many homeowners find that a Norwex cloth and water works well on painted cabinets. The idea is to remove the invisible film of grease without leaving residue behind. Let the area dry completely before you apply any paint.
Apply matching paint with light dabs
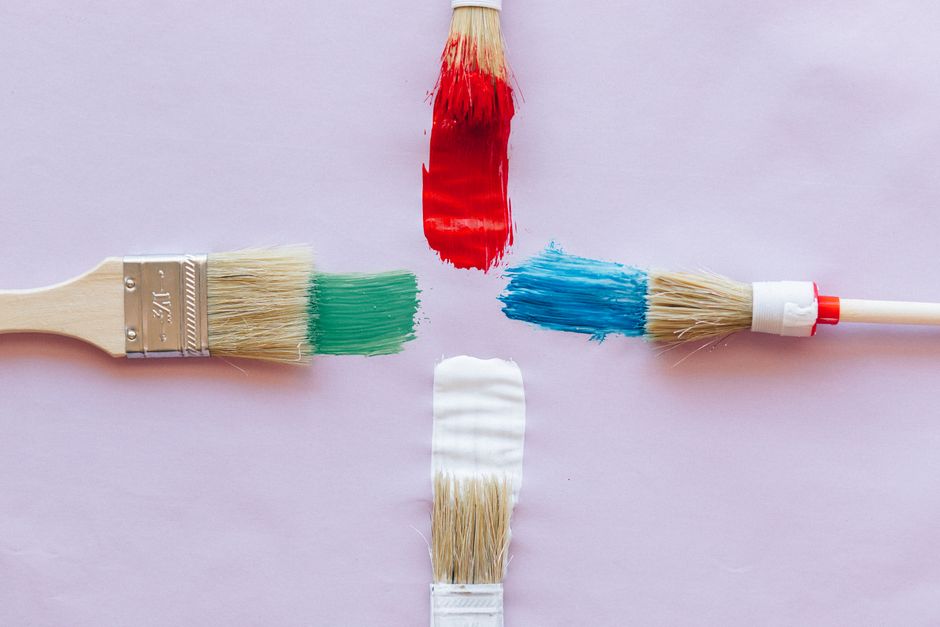
When the surface is dry, apply the matching paint using a touch-up pen, a paint brush, or a foam brush. Dab the paint onto the surface lightly. A small craft brush works well too. Tap paint only into the area that has been chipped, and avoid brushing it out wide across the surrounding finish. Several thin coats will look better than one thick coat. Let each coat dry before adding the next.
The key phrase to remember is “dab, don’t drag.” Pulling a brush across the chip can leave visible streaks and ridges. Light dabbing fills the chip while keeping the repair confined to the damaged spot.

When a DIY Touch-Up Is Not Enough
A touch-up is the right call when the damage is limited to a few small chips. It is not the right call when the paint is failing on a larger scale. If the paint has been slowly chipping more and more over time, a pen or brush will only hide the damage temporarily. New chips will keep appearing because the underlying finish has lost its bond to the wood.
Here are the signs that a professional repair makes more sense than another round of touch-up paint:
- Chips are spread across many doors and drawer fronts.
- The paint is peeling at the edges rather than just chipping.
- Touch-up paint no longer matches because the existing finish has yellowed or faded.
- The cabinets have been painted before by a general house painter and the finish is failing.
- You want a durable result that will last for years rather than months.
In those cases, the fix is not more paint. The fix is a proper refinishing process that starts with the right preparation and ends with a durable sprayed finish.
The Professional Option: Sprayed Cabinet Finishes in Denver
Denver homeowners have a specialist option that general house painters cannot match. A cabinet painting company that focuses exclusively on kitchen and bathroom cabinets brings a different level of equipment, material, and process to the job. Instead of brushed paint, these specialists spray a factory-grade lacquer finish that dries harder and smoother than anything applied by hand.
The finishes used in this process are typically 2K polyurethane or precatalyzed lacquer. These materials cure to a tough film that resists the daily wear of a working kitchen. The sprayed application also eliminates brush marks, leaving the cabinets with the smooth, factory-like appearance that homeowners expect from a professional job.
Preparation is where the real difference shows. A professional cabinet painting company uses dustless HEPA-sanded preparation, which means the sanding dust is captured at the source rather than settling into your kitchen and your lungs. This level of prep creates a clean, uniform surface for the new finish to bond to, which is exactly what prevents future chipping.
For homeowners in the Denver metro area, including Aurora, Lakewood, Littleton, Arvada, and Boulder, the process is also fast. A specialist cabinet painting company can typically complete the work in a fast 3 to 7 day process, which is far quicker than a full cabinet replacement and much more affordable. Many of these companies also stand behind the work with a 3-year workmanship warranty, which is something no DIY touch-up can offer.
Most professional cabinet painting companies provide free local estimates. That makes it easy to compare the cost of a professional refinish against the cost of replacement and the cost of your own time on a DIY project.
DIY vs. Professional Repair at a Glance
| Factor | DIY Touch-Up | Professional Repair |
|---|---|---|
| Best for | Small, isolated chips | Widespread chipping, peeling, or failing finish |
| Preparation | Light sanding with high-grit paper and a mild clean | Dustless HEPA-sanded preparation |
| Finish type | Brushed or dabbed touch-up paint | Sprayed factory-grade 2K polyurethane or precatalyzed lacquer |
| Time | A few minutes per chip | Fast 3 to 7 day process |
| Warranty | None | Up to 3-year workmanship warranty |
| Cost | Low, paint supplies only | Varies by project; free local estimates available |
The table makes the tradeoff clear. A DIY touch-up is nearly free and takes minutes, but it only addresses the visible chip. A professional refinish costs more up front, but it addresses the reason the paint chipped in the first place and comes with a warranty.
How to Prevent Future Chips
Once the repair is done, a little maintenance goes a long way. Clean painted cabinets gently and avoid abrasive scrubbers that can wear the finish. Many homeowners stick with a Norwex cloth and water for routine cleaning, which lifts grease without dulling the paint. Attend to any new chip as soon as you notice it so moisture cannot get under the surrounding finish and spread the damage.
It also helps to be mindful of how cabinet doors are handled. Slamming doors and dangling keys or rings are common causes of the kind of impact chips that appear around handles. Small habits can keep a fresh finish looking new for a long time.
Frequently Asked Questions
Here are the questions Denver homeowners ask most often about chipped cabinet paint.
Can I just paint over chipped cabinet paint?
Not without preparing the area first. The best way to fix a chip is to lightly sand it with high-grit sandpaper, clean the surface, and then dab on matching paint. Painting directly over a chip without sanding leaves a visible ridge, and the new paint may not adhere to the smooth edge of the damaged area.
How do I fix a chip on my kitchen cabinet?
Lightly sand the chip with a small piece of high-grit sandpaper, clean the area with a mild cloth and water, and then use a touch-up pen, paint brush, or foam brush to dab the matching paint into the chip. Apply thin coats and let each one dry before adding more.
Is it possible to touch up painted cabinets?
Yes, for minor damage. A touch-up pen or small craft brush can tap paint into the chipped area and blend it with the surrounding finish. Larger problems like peeling paint or widespread chipping usually require professional refinishing rather than a spot repair.
When should I hire a professional cabinet painter in Denver?
Hire a professional when chips keep appearing, the finish is peeling across multiple doors, or you want a durable sprayed lacquer finish instead of brushed paint. A specialist cabinet painting company in the Denver metro area can refinish cabinets in a fast 3 to 7 day process and back the work with a 3-year workmanship warranty.