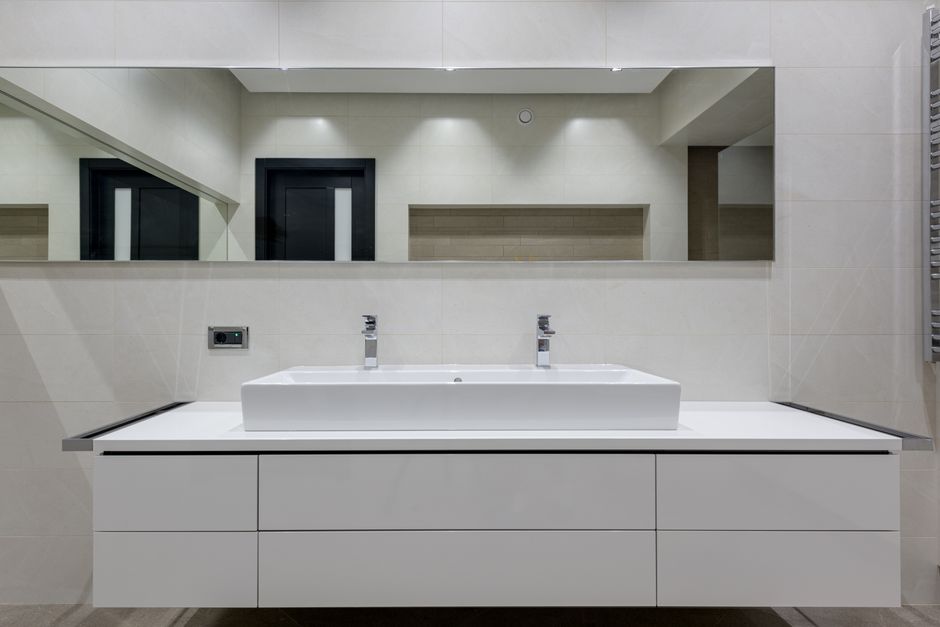
Bathroom vanities take more punishment per square foot than any other cabinet in a house. Steam from the shower, splashes at the sink, hairspray, toothpaste, and the occasional warm styling tool all land on a small box that also has plumbing running through it. In the Denver metro, that daily wear meets a climate that swings between very dry indoor air in winter and sudden humidity the rest of the year, and vanities built in the 1980s and 1990s tend to show it first. Painting the vanity is a real solution, but the finish that lasts is decided long before the first coat of color goes on.
Why Bathroom Vanities Fail Faster Than Kitchen Cabinets
Kitchen cabinets live in a room with steady temperatures and occasional cooking steam. Bathroom cabinets live in the wettest small space in the home, and they usually sit right next to the water source. That combination produces predictable trouble spots:
- Water splashing behind and beside the sink, which softens the finish along the top edges of doors
- Steam from daily showers, which finds every unsealed seam and open corner
- Hair products and cleaners that leave a film and slowly dull the surface
- Toe kicks and side panels that soak up any water reaching the floor
- MDF and particleboard doors that swell once moisture gets under a damaged edge
Once the factory finish fails, the wood underneath takes on water and the damage speeds up. That is why so many homeowners in Aurora, Lakewood, and Littleton decide to repaint the vanity while the countertop and sink are still perfectly fine.
Best Paint Types for a Bathroom Vanity in 2026
The two paint families most often recommended for bathroom cabinets are acrylic enamel and alkyd. Both can work. They behave differently during application and tolerate moisture differently once cured, so the choice should follow the prep plan rather than the other way around.
Acrylic Enamel and Water-Based Paints
Acrylic, or water-based, paints are low-fume and clean up with water, which makes them practical in a small bathroom with limited ventilation. They stay workable long enough for a careful brush and roller job, and they resist yellowing better than oil-based products. On a vanity with heavy splash exposure, an acrylic enamel still needs a solid primer underneath to bond to a slick factory surface.
Alkyd and Waterborne Alkyd
Alkyd paints cure into a harder, denser film, which is why Benjamin Moore guidance names waterborne alkyd as the best paint for a bathroom vanity and points to products like ADVANCE for a smooth, furniture-like finish. Traditional oil-based alkyds carry a stronger odor and slower dry times. Waterborne alkyds aim for the same hardness with easier handling, and they are a common choice for vanities in daily use.
| Paint type | Strengths on a vanity | Trade-offs |
|---|---|---|
| Acrylic enamel (water-based) | Low fume, water cleanup, easy to touch up | Needs a bonding primer on factory finishes |
| Traditional alkyd (oil-based) | Hard, durable cured film | Stronger odor, slower dry |
| Waterborne alkyd, such as ADVANCE | Smooth, furniture-like finish with alkyd hardness | Costs more than basic acrylic, still needs priming |
Spray-applied coatings used by cabinet specialists, including 2K polyurethane and precatalyzed lacquer, sit in a different category from anything sold at a paint counter. They are mixed and sprayed rather than brushed, and they are the reason a professional vanity finish reads more like furniture than a weekend paint project.
The Prep Sequence That Decides the Finish
Every published vanity painting guide follows roughly the same order, and that order matters. Skipping a step rarely shows up on day one. It shows up later as peeling edges, drips that never cured flat, or paint that lifts in sheets the first time a wet towel hangs against a door.
Step 1: Remove Doors, Drawers, and Hardware
Take off all hardware, drawers, and doors. Doors should be laid flat to paint so the finish levels instead of running. Label hinges and screws so everything goes back in the same place. This is also the moment to check whether the vanity is secure enough to survive a few days of use without doors.
Step 2: Patch Holes and Repair Damage
Fill old hardware holes, dents, and any swollen or crumbling edges before paint touches the wood. Loose veneer and water-damaged corners need to come out or be stabilized. Filler has to dry fully and sand flush, or the defect telegraphs straight through the topcoats.
Step 3: Clean the Vanity Thoroughly
Bathroom cabinets collect a film of soap, body oil, and hair product that no paint will stick to. Clean every surface, including door edges and the frame around the sink, then let it dry completely. Degreasing is not optional on a vanity the way it might be on an upper kitchen cabinet.
Step 4: Sand to Remove the Gloss
Sanding to remove gloss creates the mechanical bond, and it is the step most DIY projects rush. Factory finishes are hard and slick by design, so the surface needs consistent dulling across edges, stiles, and the inside of the door profile. Wiping the dust off afterward is part of the same step, not a separate one.
Step 5: Prime Before Color
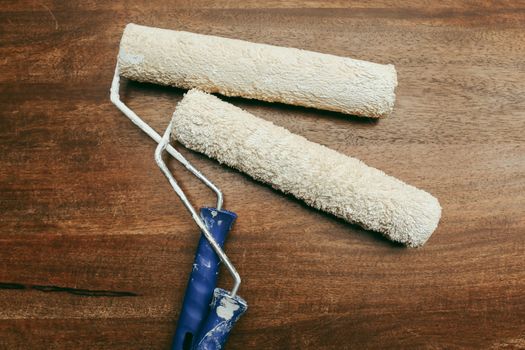
Primer goes on after sanding, not instead of it. A workable method is to brush a coat of primer into all exposed edges and corners of the vanity first, then roll the flats to even it out. Published guidance puts that primer dry time at roughly two to three hours, though temperature and airflow in the room change it, so follow the label.
What Denver’s Climate Does to Vanity Prep
Denver homes deal with dry indoor air through the heating season and far more moisture inside the bathroom itself. That contrast works against wood, especially on older oak vanities where the grain is open and the original finish has thinned. Rooms with weak exhaust fans hold steam longer, which is hard on both the paint and the cabinet box behind it. Running the fan and letting the bathroom air out between coats helps the finish cure instead of trapping moisture under it.
Low humidity also changes how fast coatings skin over. A paint that stays open longer in damp conditions can flash off quickly in a dry Denver bathroom, which makes brushed work harder to keep wet and even. That is one practical argument for spraying rather than brushing in this climate.

Sprayed Finish Versus Brushed Paint on a Vanity
The application method affects how a vanity looks and how long it holds up. Brushing and rolling can produce a good result in careful hands, but the texture stays visible on a piece people see up close every morning.
| Aspect | Brushed and rolled | Sprayed finish (specialist) |
|---|---|---|
| Surface texture | Brush and roller marks can remain | Level, factory-style film |
| Edges and profiles | Hard to coat evenly | Even coverage in recesses and edges |
| Typical timeline | Spreads across multiple weekends | Five to seven days for a full set |
| Dust control | Depends on the room | Dustless HEPA sanding and contained spraying |
The Chipping Question Homeowners Always Ask
One of the most common worries in DIY cabinet painting threads is that paint will chip or scratch no matter which product is used. That concern is fair. Thin, brushed latex over an unprepared vanity does chip, especially at door edges where fingers and rings make contact. The variables that decide the outcome are the bonding surface, the primer, the hardness of the cured topcoat, and whether doors were sealed on the back and edges as well as the front.

What a Specialist Cabinet Painter Does Differently
Cabinet painting companies that work only on cabinets bring equipment and products that a general house painter or a homeowner typically does not. In a Denver metro bathroom, that usually includes:
- Dustless HEPA sanding that keeps old finish dust out of the air
- Sprayed 2K polyurethane or precatalyzed lacquer for a harder, factory-grade film than brushed paint
- Grain filling on white oak and golden oak, which closes the open pores that show through painted oak
- Options such as two-tone color layouts when the vanity and surrounding trim should not match
- A five to seven day process that returns the bathroom to normal use quickly
- Free local estimates and a three-year workmanship warranty
Homeowners across Aurora, Lakewood, Littleton, Arvada, and Boulder weigh this against replacement, and the comparison usually comes down to downtime and cost rather than appearance. Painting keeps the existing cabinet boxes, countertop, and plumbing in place. Replacement rebuilds the whole vanity and often forces a countertop decision too. Ask any contractor you are considering which products they spray and how they handle prep, because that answer tells you more than the color sample does.
Frequently Asked Questions
What is the best paint for a bathroom vanity?
Benjamin Moore guidance points to a waterborne alkyd such as ADVANCE for a smooth, furniture-like finish, while other published guides name acrylic enamel and alkyd as the two leading options. Acrylic and other water-based paints are low-fume and clean up easily. Whichever you choose, primer and surface prep matter as much as the topcoat.
Do I have to sand bathroom cabinets before painting?
Sanding to remove gloss is a standard step in every major vanity painting guide, and it exists because factory cabinet finishes are hard and slick. Without dulling that surface, paint has little to grip. A bonding primer helps, but it does not replace sanding on a vanity that sees daily moisture. Clean first so sanding does not grind grease into the wood.
Can I paint a bathroom vanity in a weekend?
Some published guides describe a weekend transformation, and that timeline works when doors and drawers come off, the surface gets patched, cleaned, sanded, and primed, and topcoats go on in a well-ventilated room. Curing is the part that does not compress. Doors need time to harden before they go back on and get closed repeatedly.
Will painted bathroom cabinets chip?
They can, which is why the worry shows up constantly in DIY painting discussions. Chipping becomes far more likely when paint goes over a slick surface with no primer, in thin coats, or only on the front of the door. A properly prepped and sprayed coating that also covers door edges and backs resists scratching much better than a rushed brush job.
How long does professional vanity cabinet painting take?
Most specialist cabinet painters work on a five to seven day schedule for a full set of doors and drawers, including preparation, spraying, and cure time before reassembly. Sprayed 2K polyurethane and precatalyzed lacquer need that window to harden. Ask for a written schedule and confirm which products will be sprayed before work starts.